
Lofted Long Ball
Strike under the centre of the ball to send it on a high arc — drops into a 5-yard target zone at 30–40 yards, used for switching play over a defensive line or finding a striker in behind.
Get scored on this drill — free
Upload a phone video. The LevelUp AI returns a score, breakdown, and tips in minutes.
How to record this drill
Record 30–45 seconds showing 8–10 attempts. This is the scoring clip, not the full 10-15 minutes practice session.
Side-on from the kicking foot side, camera eye level (~5–6 ft off the ground), 10–15 yards back — plant foot, ball-strike, and as much of the arc as possible in frame; wide angle essential to capture both the peak and the landing zone drop.
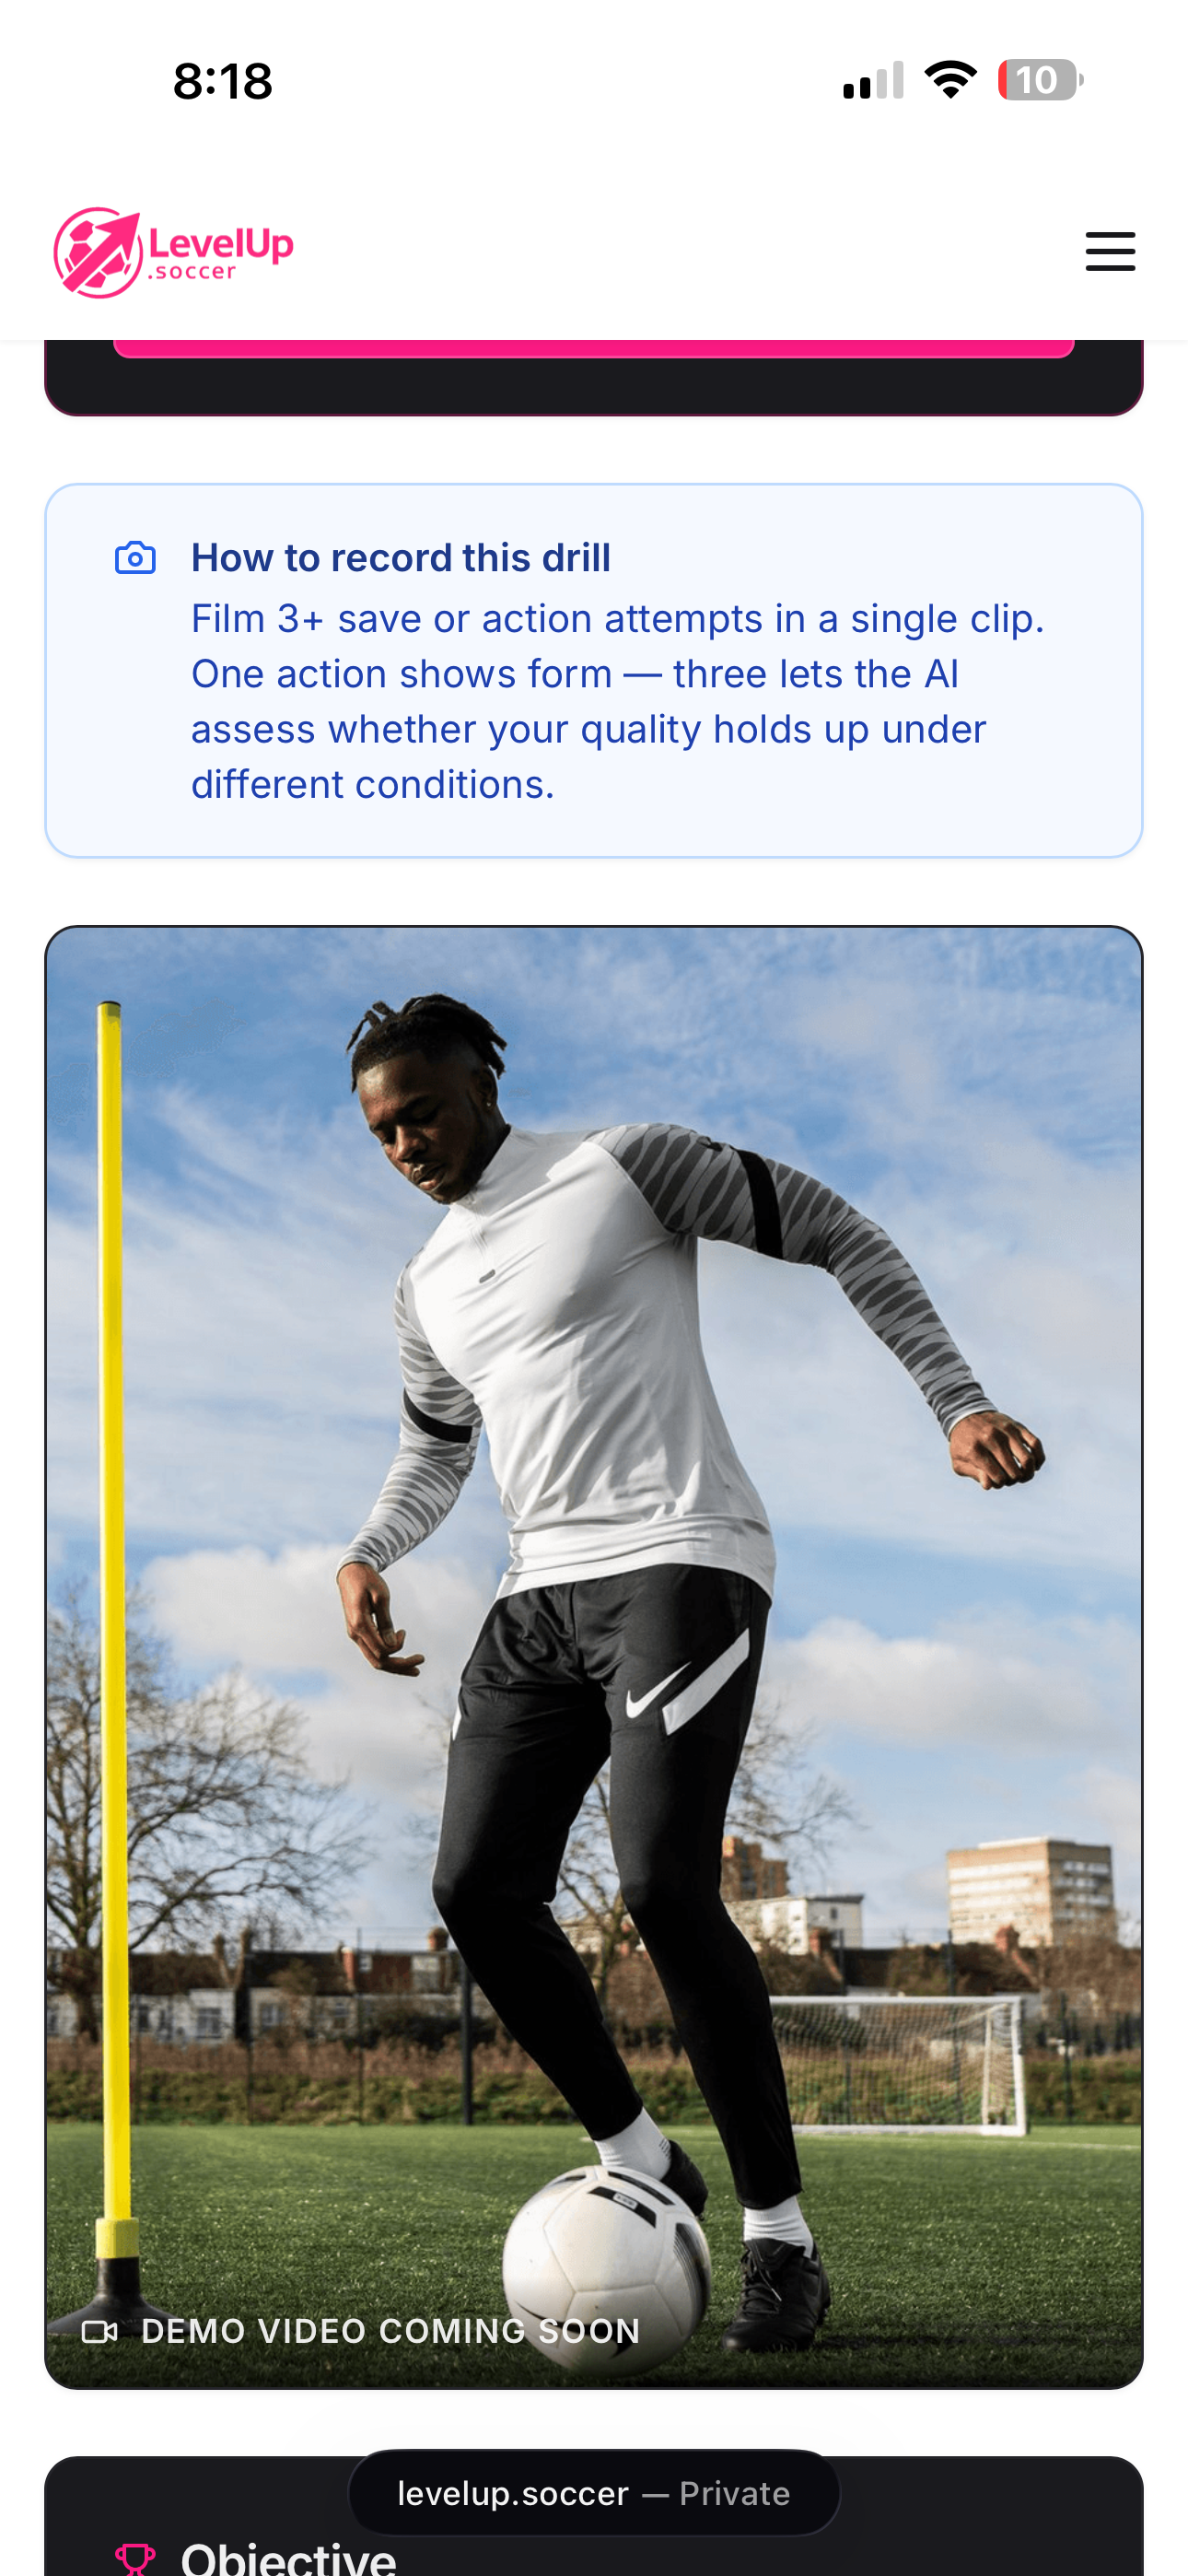
Demo video coming soon
Strike under the ball to send it on a high arc that drops steeply into a 5-yard zone at 30–40 yards — clearing a defensive line and landing where a teammate can control.
Open space, 4 cones marking a 5-yard landing zone at 30–40 yards, 1 ball.
- Mark a 5-yard landing zone with cones at 30–40 yards
- Plant your non-kicking foot slightly behind and to the side of the ball
- Lock your ankle with toe down and strike BELOW the centre of the ball with your laces
- Follow through upward — the arc of your follow-through determines the height of the ball
- The ball should climb, peak, and drop steeply into the landing zone
- Practice both feet — the weaker-foot loft is often the one that lets you down in a game
- Plant foot slightly behind and beside the ball
- Toe down at contact — striking below the ball's centre with laces
- Follow-through arcs upward, finishing above hip height
- Ball climbs cleanly, peaks, and drops steeply into the landing zone
- Lands within a 5-yard zone at 30–40 yards
- Both feet attempted, even if shape on non-dominant is rougher
- Too far under the ball — balloon kick with no forward pace, easy for the goalkeeper or defender
- Leaning too far back at contact — ball goes straight up instead of arcing forward
- Toe up instead of toe down at contact — reduces loft, ball comes out flat
- Follow-through too low — ball doesn't climb enough to clear a challenge
- Approaching too straight — no whip, loses distance
Foundation
Lofted ball into a 10-yard zone at 25 yards, 6 of 10.
Form
Lofted ball into a 5-yard zone at 30 yards, 5 of 10.
Tempo
Lofted ball into a 5-yard zone at 40 yards, 4 of 10.
Pressure
Lofted pass off a rolling first touch at 30 yards, 5 of 10.
Match Rhythm
Alternate dominant and non-dominant foot — 4 of 10 with weaker foot into a 5-yard zone.
Mastery
Lofted switch to a partner running onto the ball — 4 of 10 land within their stride.
Landing Accuracy
Ball drops into the 5-yard target zone at 30–40 yards
Flight Trajectory
Ball climbs high enough to clear a challenge, peaks, and drops steeply — not flat
Technique
Contact below equator of ball, plant foot slightly behind ball, follow-through arcs upward, toe down at contact
Both Feet
Achieves a serviceable loft and direction with the non-dominant foot
Try this drill, get an AI score in minutes
7-day free trial. Upload a phone video and we'll grade you on the criteria above.
Get scored — free